The time has come for me to prime and bottle my home brew beer. In case you don’t know what priming beer means, it is simply adding sugar to the fermented beer to kick off a secondary round of fermentation so that the beer becomes carbonated. The yeast present will completely consume the sugar and give off Carbon Dioxide, which has no where to escape, when bottled, except to carbonate the beer.
My heart was racing as I opened up the fermentation bucket for the first time since sealing it up more than 2 weeks ago. Prior to this, all I can smell when I open my chest freezer is sulphur (though not quite as bad as eggs), which is expected when brewing Lager beer. Being the pessimist that I am, I half expected things to have turned awry and ending up with 23 litres of foul smelling waste water. I held my breath and was greeted by.. Drum roll.. The sweet smell of beer!
So far so good, and I am more convinced now that making beer is really easier than it sounds. I proceeded to measure the sugar I was going to use for priming, and the digital weigh turned itself off before I managed to see the final reading. On hindsight, I should have poured the sugar into another vessel to measure proper, but I took a gamble. Too much sugar when priming can possibly result in exploding bottles when too much gas is produced. Too little and the beer may not be fizzy enough. Well, actually, i also omitted the step of taking the gravity reading (alcohol content) to ensure that the primary fermentation has completed, which, if it has not, will also result in exploding bottles. I guess in my case, I will have some gas in my beer and the likelihood of explosion is low. I am placing my bottles back into the chest freezer for fermentation and storage anyway, so the danger resulting from exploding bottles is nullified.
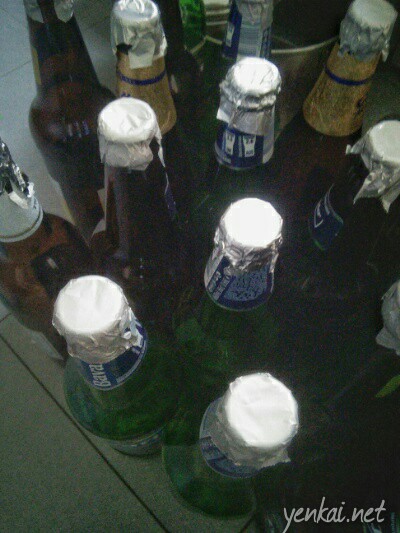
Sanitized bottle with aluminium foil seal
Bottling is pretty hard work if you ask me. I started with cleaning and sanitizing the bottles the night before, and it took more than an hour to go through 36 bottles. I got inspiration from a photo I have seen on a home brew website to seal the sanitized bottles using aluminium foil. This allows me to breakdown the bottling effort into 2 parts. I can’t imagine doing bottle sanitizing and bottling in one shot, it’s back breaking work!
Next, I siphoned the beer into the bottling bucket, into which I have already poured the sugar syrup made from the sugar I have measured out earlier. The filter that came with my siphon worked very well – I managed to get clear beer despite placing the source end of the siphon near the base of fermentation bucket, where there were lots of sediments (see photo at top). It is not recommended to do so though, as you will still want your beer as clear as possible.

Measurement container with funnel pouring tip
I read from home brew websites that the swirling created by the jet stream of beer coming off the siphon is sufficient to mix the sugar syrup with the beer, but I do have worries about whether it will be evenly distributed. Another worry I have is about oxidization. I have chosen an unconventional method for filling the bottles (since the commonly used auto-siphon and bottle filler are not used by Chinese brewers and are thus not sold on Taobao) – using a measurement container with a funnel pouring tip. It does increase the chances of splashing which may in turn cause oxidization. I guess I’m just hoping for the best with this first batch of beer, and I really think it wouldn’t turn out too bad.
Finally, a cap is placed on the bottles and sealing done with a bottle capper. The bottle capper is fairly easy to use, though it would be much better if clamped to a desk. I’m surprised that the magnet that holds the cap in place is strong enough to lift a filled bottle. This is the sign that tells you you’ve capped the bottle properly. Cool. I managed to fill 34 bottles, with half a cup of leftovers. Quick calculation on the cost of the beer (excluding the costs of the equipment) – S$50 / 34 = S$1.50 per bottle, not bad. There is inevitable wastage in the form of the sediment, so i did not get 35 bottles. Did taste test on the leftovers – it tasted pretty good! It tasted as good as it smells, has a rather thick mouthfeel (slightly murky) and seems to have quite high alcohol content. I am lazy to measure the actual alcohol level, but will probably get hold of a refractometer to do this in the future.
The instructions on the beer kit says to wait for 12 weeks before i start drinking the beer proper. That is a very long time indeed, but i’m sure it is worth the wait, as i expect the beer to clear up to become more lager like. Since this is my very first home brew, i will not kick off another round of brewing until i’ve at least consumed some of this beer. Stay tuned for my report on how the beer turns out.. if you can wait that long!


